Getting started
Map Pilot is a tool that makes easy to use Google Maps for many recurring use cases. It's easy to imagine how the map can be useful. Today cartography can be found everywhere in our digital devices.
When we need to jump ahead and create a map, then we can measure all the technical barriers that we can find on the way. Our ambition is to break down those barriers to accelerate the time to deploy standard use cases.
Introduction
For us the best way to demonstrate how to use our product is to show you with a real example how it works. We will use a standard use case and make it real in record time.
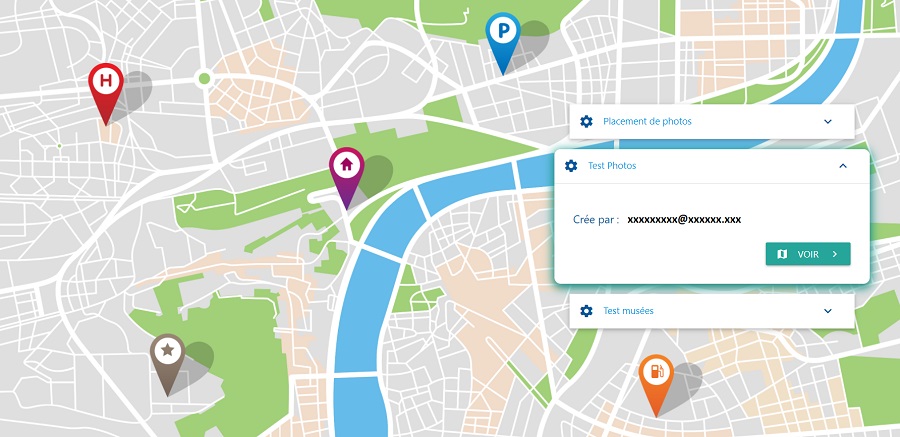
We want to use a public dataset :
Photos de l'Île-de-France
And make it visible on a Google Map like this :
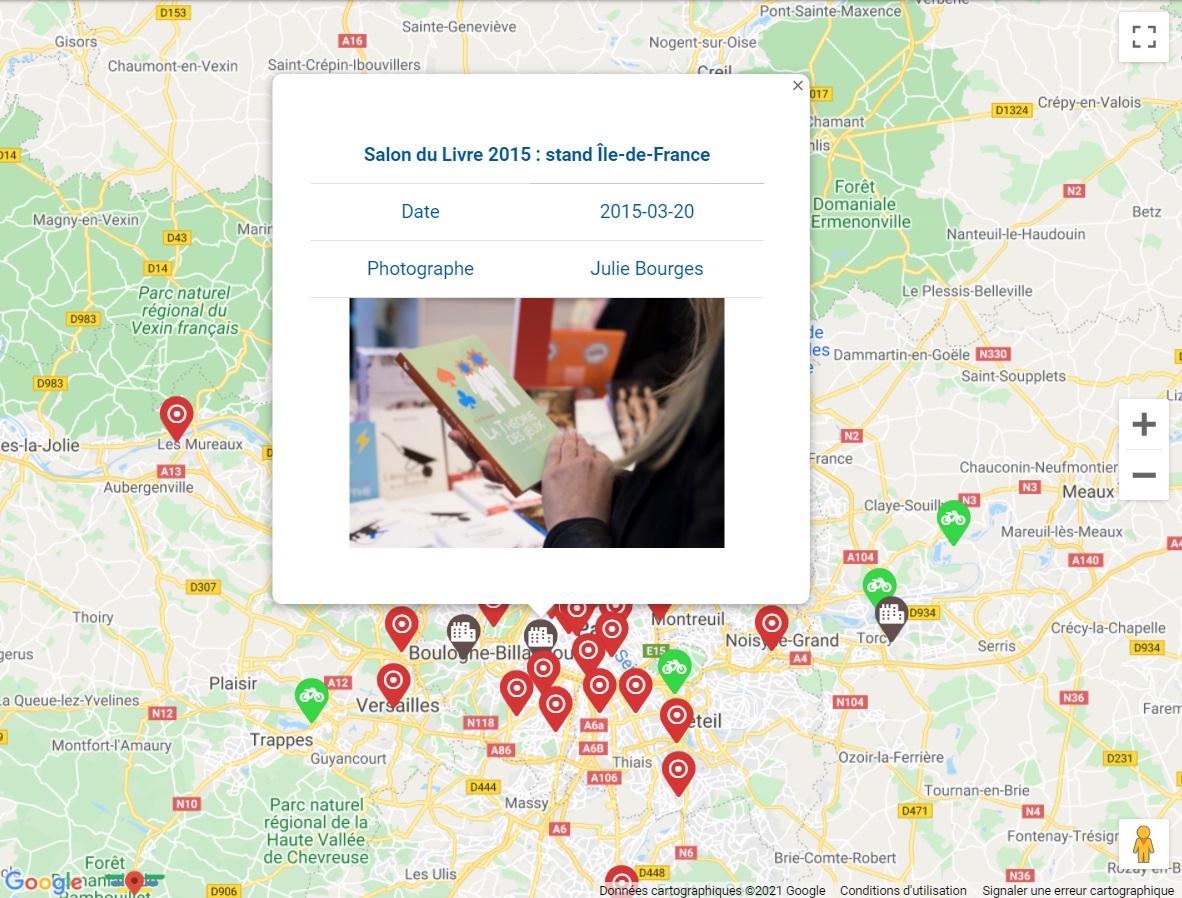
As you can notice we will focus on the following objectives :
- Inserting data from a tabular file (CSV, XLSX, ...)
- Create styles and apply depending on attributes
- Create template representation for tooltips
Create an account
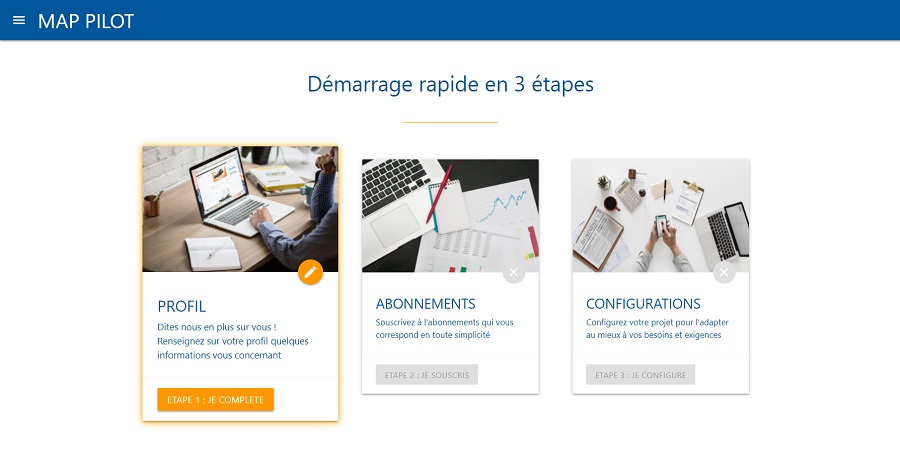
The first step for using Map Pilot is creating a user account. This operation is easy and free. Anyone with a valid GMail address can create an account.
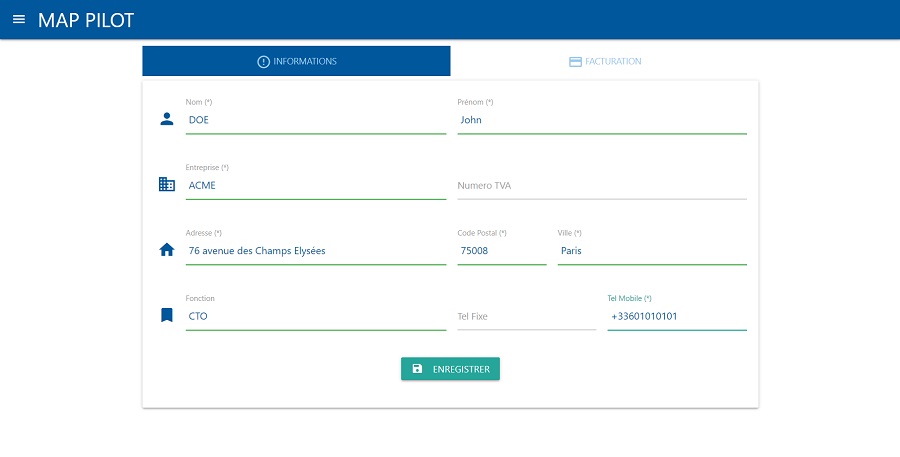
Once the account created, you can set your profile informations. This will be necessary to subscribe to the application. An onboarding stepper will guide you through the process.
Subscription
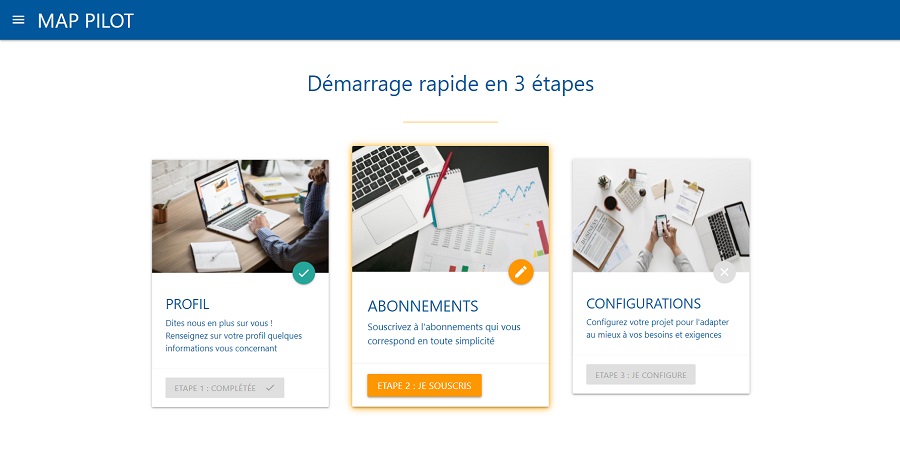
After completing the profile information, you will need to make a subscription to the service. During this process you will chose the options corresponding to your needs.
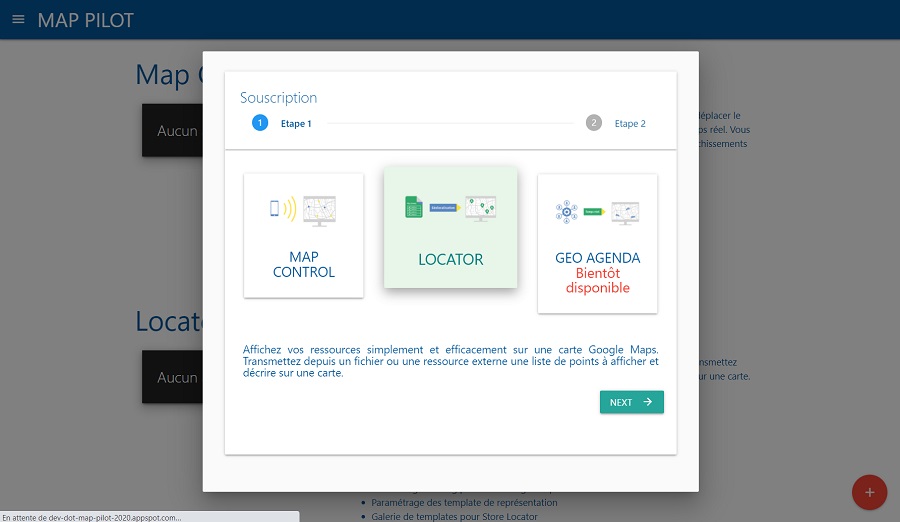
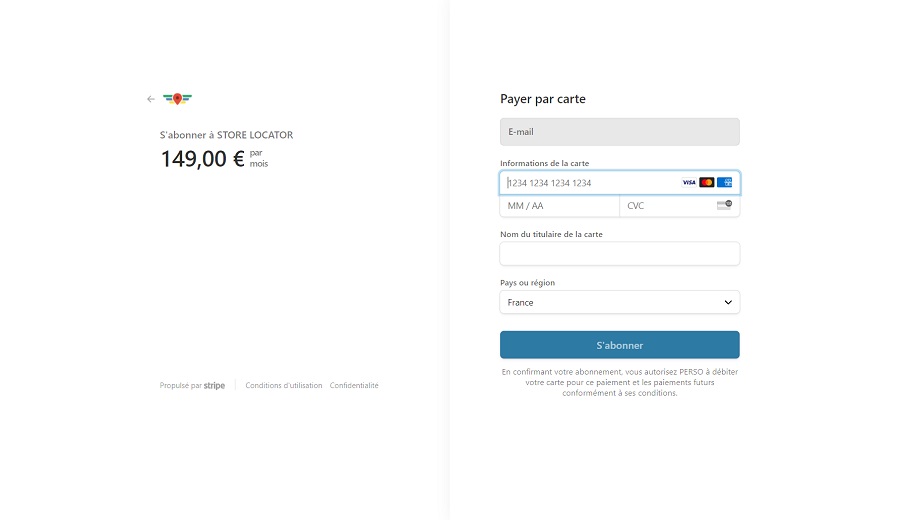
For individual or small company plans, you will be redirected to our partner Stripe for bank card payment.
For entreprise subscription, please contact out partner Devoteam (support.maps@devoteam.com).
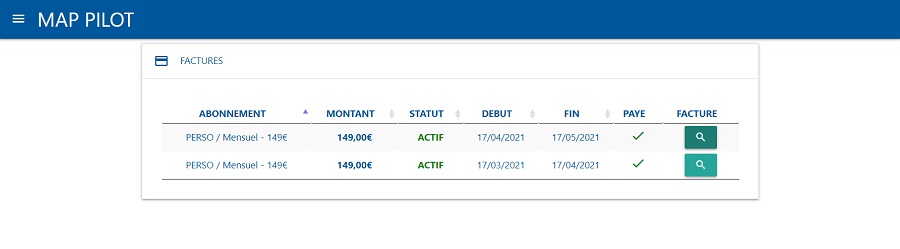
Billing
The billing page sows you the invoices. You can download and print them with the history of your activity.
Configurations
When using Map Pilot, we talk about configurations as the main business objects. A configuration can be seen like a display project. In this section we will see how to create
and modify configurations, and then what are the available options.
Create a configuration
When your subscription is OK you can create a configuration. Go in the configurations page using the dedicated main menu item. Click on the add button in the bottom right corner of the screen.
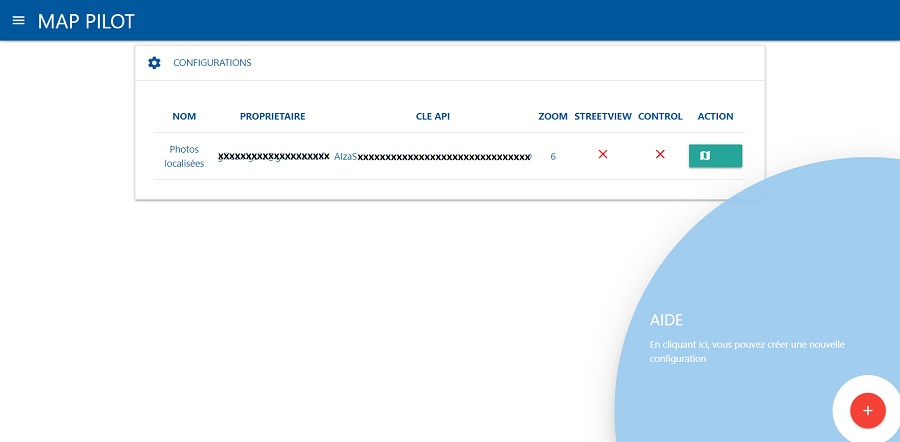
You will then be invited to enter values :
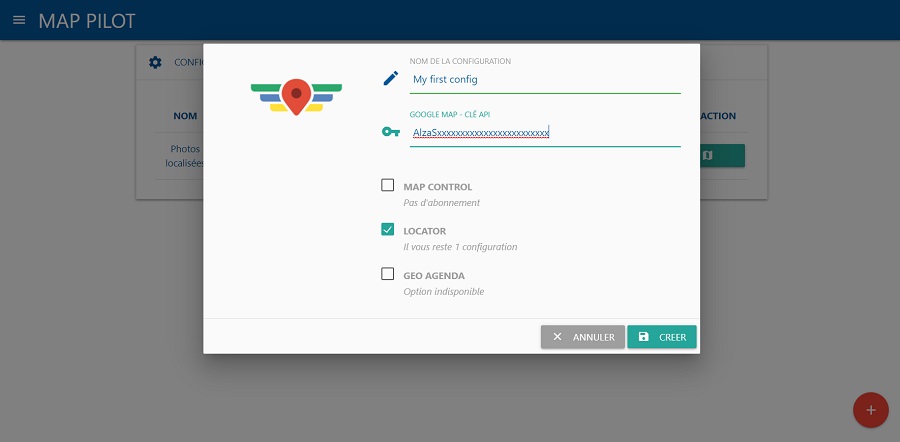
Here are the details of the values :
- Name of the configuration : free text value to design your configuration. This value will be presented to all the users to identify the configuration. This is not necessary a unique value.
- Google Maps API Key : this value is a credential generated in Google Cloud Platform to display Google Maps. You will need to authorize the URLs of Map Pilot and the production environments in order to display maps properly.
- Configuration options : you can activate the different options of Map Pilot depending on your subscription. You can mix Map Control with Locator, for example, if you wand to display markers and modify elements with API calls.
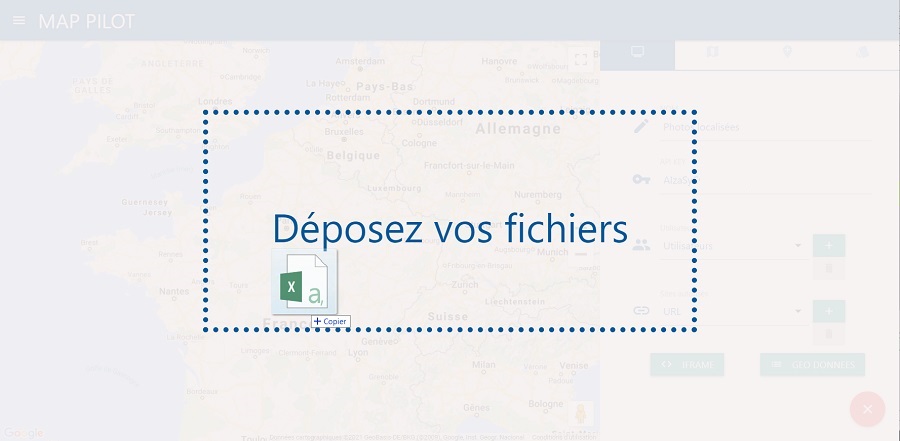
File import
This is the most complex operation of Map Pilot. When inserting a tabular file, the Map Pilot worker tool generates all that is necessary to display correctly the information. You just need to dean'n'drop the file to launch the import process.
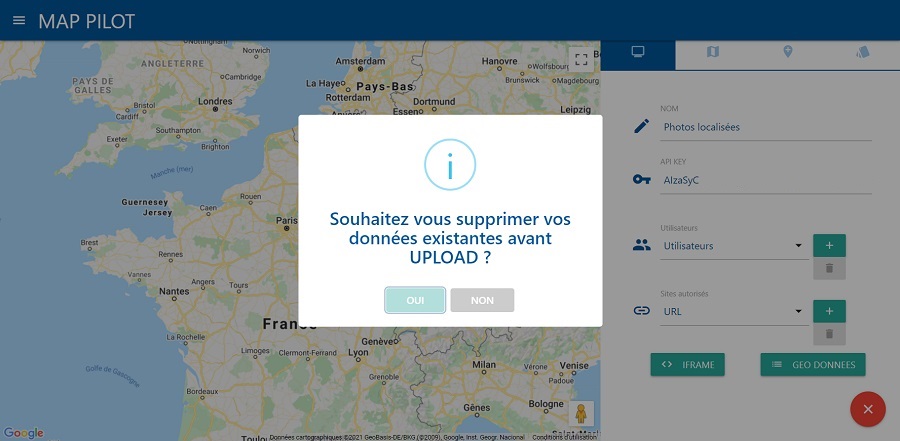
When you drop a file, you can choose to clear already existing data before re-populating your database.
During the process, the worker will detect automaticly some typical information to perform special treatment. Here are the most important rules. Note that all the comparisons are case insensitive.
Coordinates in separate fields
If your data is already localized, you can indicate with the name of the column.
- You can use lng, lon, longitude or x for the longitude field.
- For the latitude field, use latitude, lat or y.
Coordinates in a unique field
You can find longitude and latitude encoded in the same field. Your data needs to follow those rules to be correctly decoded.
- The field name can be lat%lon% or lat%lng% (% as a joker character sequence) for latitude first.
- The field name can be lon%lat%, lng%lat% (% as a joker character sequence), geoloc or géoloc for longitude first.
- You can use one of those separators :
;
,
/
|
Examples :
48.867222,2.338486
1.0128311|48.1900978
40.876/-73.832
-83;27.26
Address columns (Beta)
Map Pilot is able to automatically geocode an address. Please contact us to get more information about this function.
Area columns (Beta)
You can provide in input areas like region, department, IRIS code (France), etc. Please contact us to get more information about this function.
Type column
This column is used to define specific representation (marker) or template for info window and list item. To be sure to use this capability properly, please name the column type or style.
Window column
You can define a specific value for info window, directly in the input file. For that purpose, you can use a column named window. Fill this value with HTML code.
API import
You can use our API to import manage data in your configuration database. You will find a complete description in the dedicated page.
Manage data
We will talk about styling in the next chapter. Once this configurated, you will be able to add, delete or modify information in your database. Use the different tools dedicated to that purpose :
- Drag'n'drop of file in the configuration space
- Use Third party integrations like Google Sheet direct import
- Access configuration through Map Pilot REST APIs
Styling
Google Maps is a very powerful and attractive tool. Users love it because it's very simple to use, and you can have access to a lot of localized information.
Developers can use this amazing solution to display information on a map and offer the localization dimension to the users and customers. Styling information is essential
to offer a smart representation of the data on the map. The goal of Map Pilot Locator is to simplify this process of data representation.
What can I style
The configuration editor of the web portal is used to perform the styling operations. Styling is simple and interactive. Everything you do can be verified in real time, and is available for your users immediatly.
The styling tool can act on markers, info windows or list items. The access is made by form controls in the styling tab of the configuration.

Markers
In the editor you will be able to define the following values by default or for a specific type :
- Icon url : this is useful when you need to put a logo or a very specific representation. Next marker options are related to glyph icon representation.
- Marker shape : select the shape for the marker representation
- Marker color : select the folor for fillong the shape
- Glyph text : select the folor for fillong the shape. Use the dialog to select an icon in the list.
- Glyth color : define the color for the glyph icon. You can choose a contrast with the shape color.
Info window
When the user clicks on a marker, an info window appears with a detailed information. You can define easily what kind of information you will represent.
The content is int HTML. You can use static content and insert attributes values. This is why you will have to edit a template for the content.
List item
With Map Pilot you can display your data in a list, adapted to your map content. With the list item template, you will offer a custom representation of your list item with no complex coding.
Edition
Edition of template is made simple with Map Pilot editor.
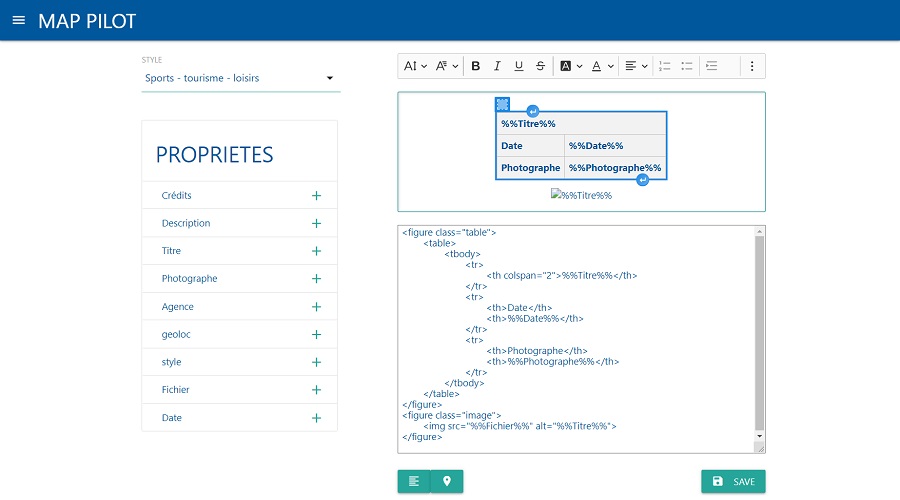
During the integration process, the data file is parsed and the attributes metadata is used to fill the template. Everything is dome with a graphical representation to avoid complexity and risks of errors due to manual typing of parameters.
Sharing
Google Maps is awesome when used in collaboration websites and softwares. This tool presents the spatial environment to enhance localized data. When a project based on Google Maps is made,
the next step is to show it to the world. Let-s explore here the different ways to share a configuration to present it to your audience.
Share with users
The first and simplest sharing option is to make your configuration viewable by other users. To do so, you will add users addresses in the Users field in the main tab of the configuration.
To display shared projects, go to the locators URL of Map Pilot (https://map-pilot.io/locators) and discover the shared projects. Just click on the view button to open the configuration in view mode.
View page
You can embed a Map Pilot project in a dedicated web page and interact with the map for your needs. To act like this, we offer a complete Javascript API.
Please read the dedicated page to get more information.
Share in iFrame
Last option, very simple to use and similar to Google MyMaps is to share your configuration as an iFrame. This will embed a Map Pilot viewer in your webpage without having to write any line of code.
To obtain the HTML code to embed in your page, click on the IFrame button in the first tab of the configuration editor :
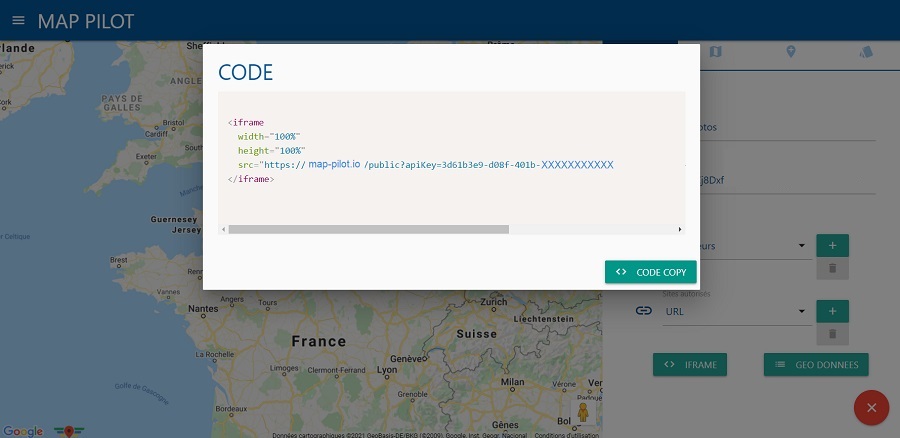
You will need to add the destination URL in the URL list of the configuration. Without this the server will return an error. Don't forget to define security in Google Cloud, on the API key options.